How to create your first Pipeline
Check this quickstart video on how to create your first Pipeline.
The best way to get started with Pipelines is to use the interactive Pipeline editor available in the Labs with Jupyter Lab set as IDE. If you don't have a Lab yet, or you don't know how to create one, check our quickstart guide on how to create your first lab.
Open an already existing lab.
A Pipeline comprises one or more nodes that are connected (or not!) with each other to define execution dependencies. Each pipeline node is and should be implemented as a component that is expected to manage a single task, such as read the data, profiling the data, training a model, or even publishing a model to production environments.
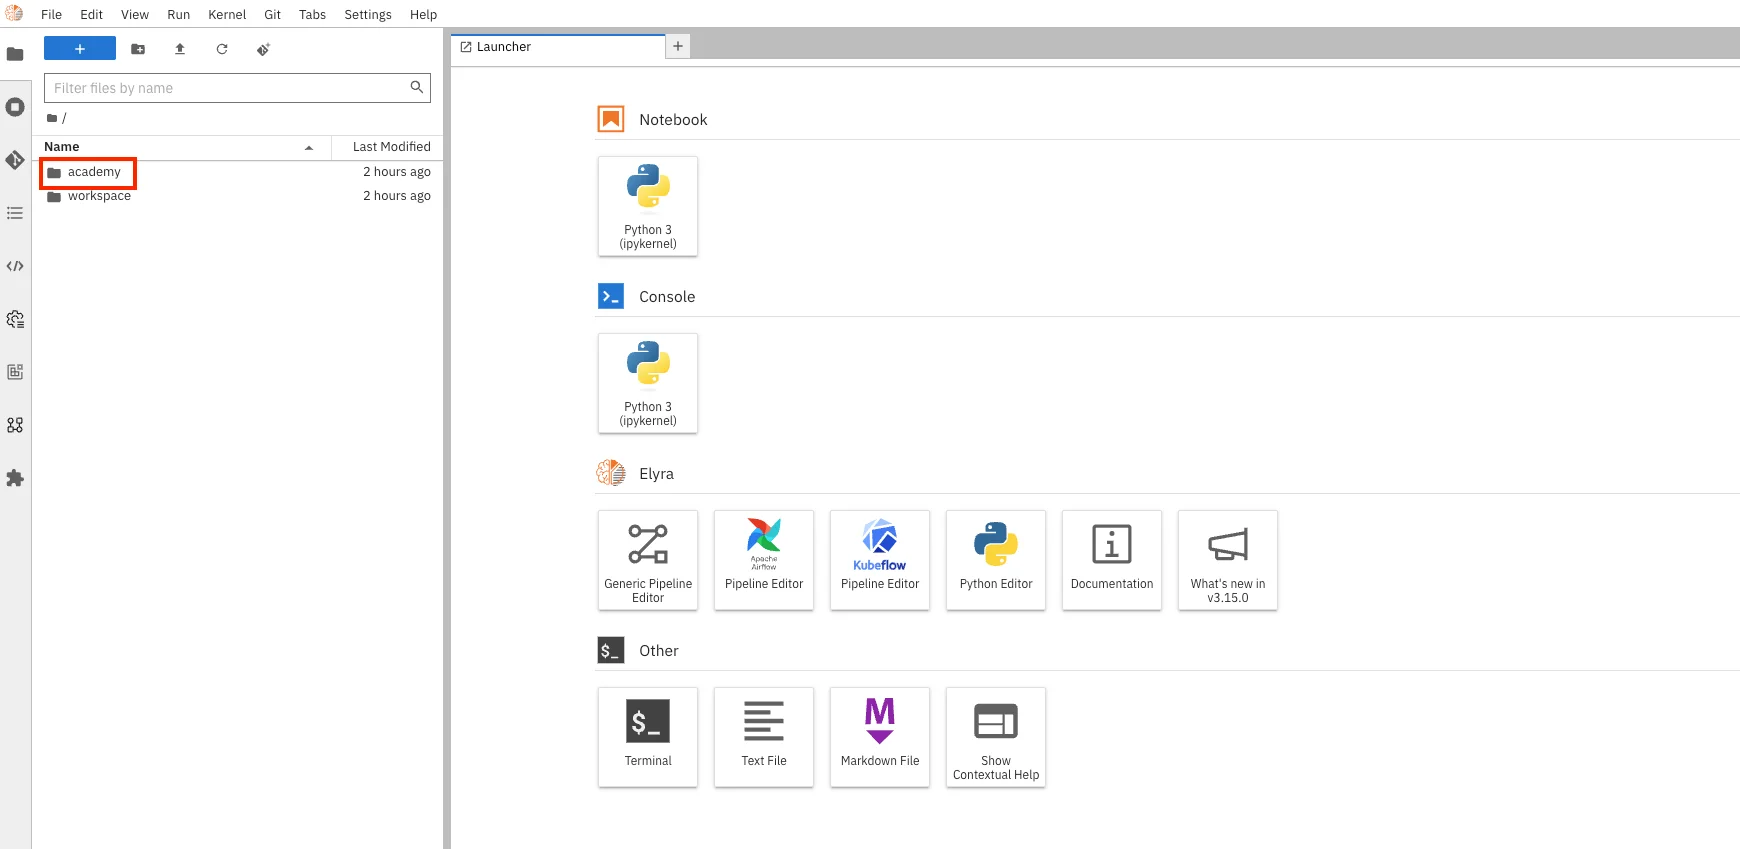
In this tutorial we will build a simple and generic pipeline that use a Dataset from Fabric's Data Catalog and profile to check it's quality. We have the notebooks template already available. For that you need to access the "Academy" folder as per the image below.
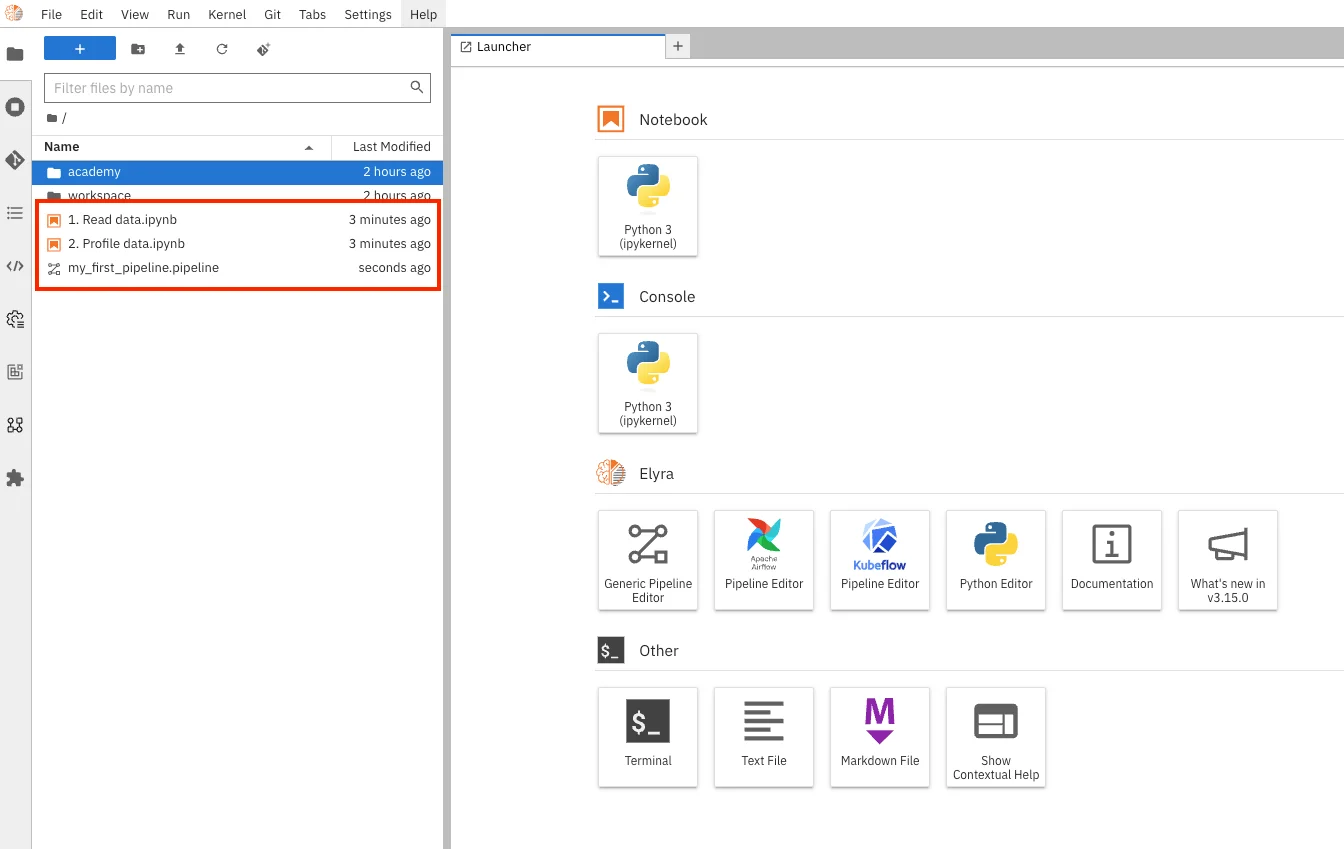
Make sure to copy all the files in the folder "3 - Pipelines/quickstart" to the root folder of your lab, as per the image below.
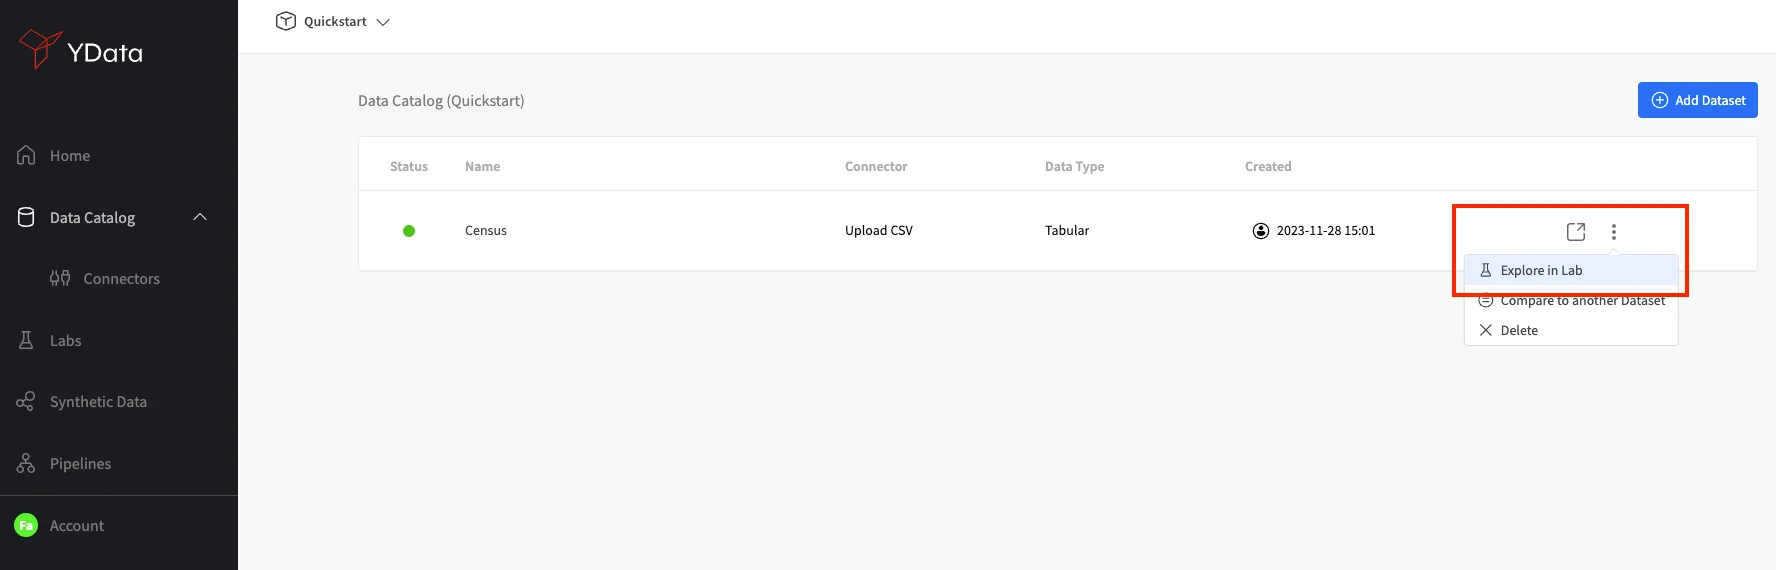
Now that we have our notebooks we need to make a small change in the notebook "1. Read dataset". Go back to your Data Catalog, from one of the datasets in your Catalog list, select the three vertical dots and click in "Explore in Labs" as shown in the image below.
The following screen will be shown. Click in copy.
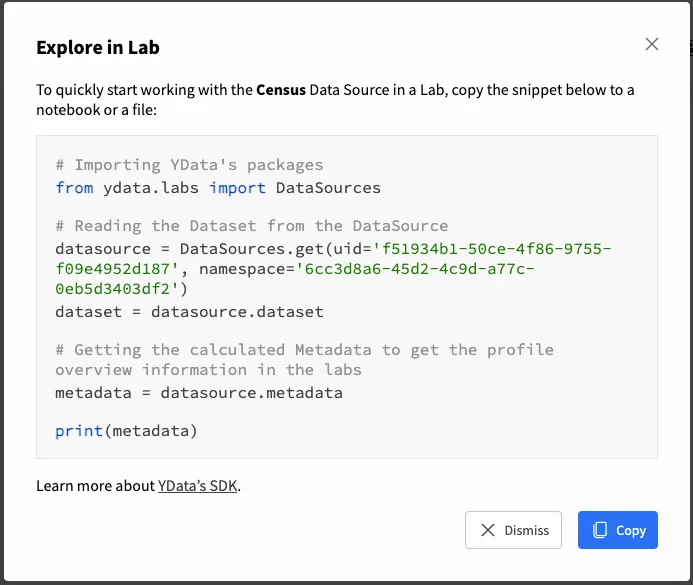
Now that we have copied the code, let's get back to our "1. Read data.ipynb" notebook, and replace the first code cell by with the new code. This will allow us to use a dataset from the Data Catalog in our pipeline.
| Placeholder code | Replaced with code snippet |
|---|---|
 |
 |
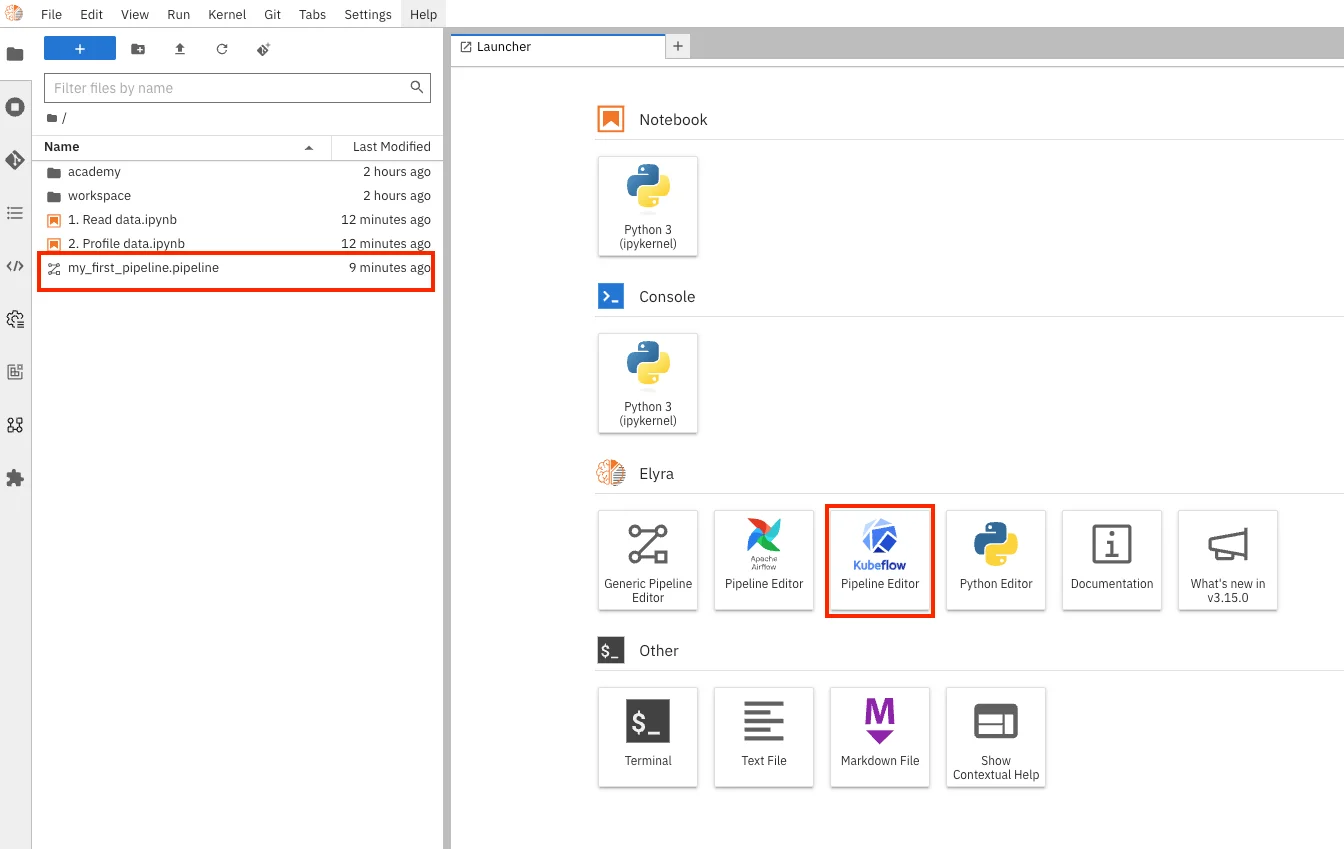
With our notebooks ready, we can now configure our Pipeline. For this quickstart we will be leveraging an already existing pipeline - double-click the file my_first_pipeline.pipeline. You should see a pipeline as depicted in the images below. To create a new Pipeline, you can open the lab launcher tab and select "Pipeline Editor".
| Open Pipeline | My first pipeline |
|---|---|
 |
 |
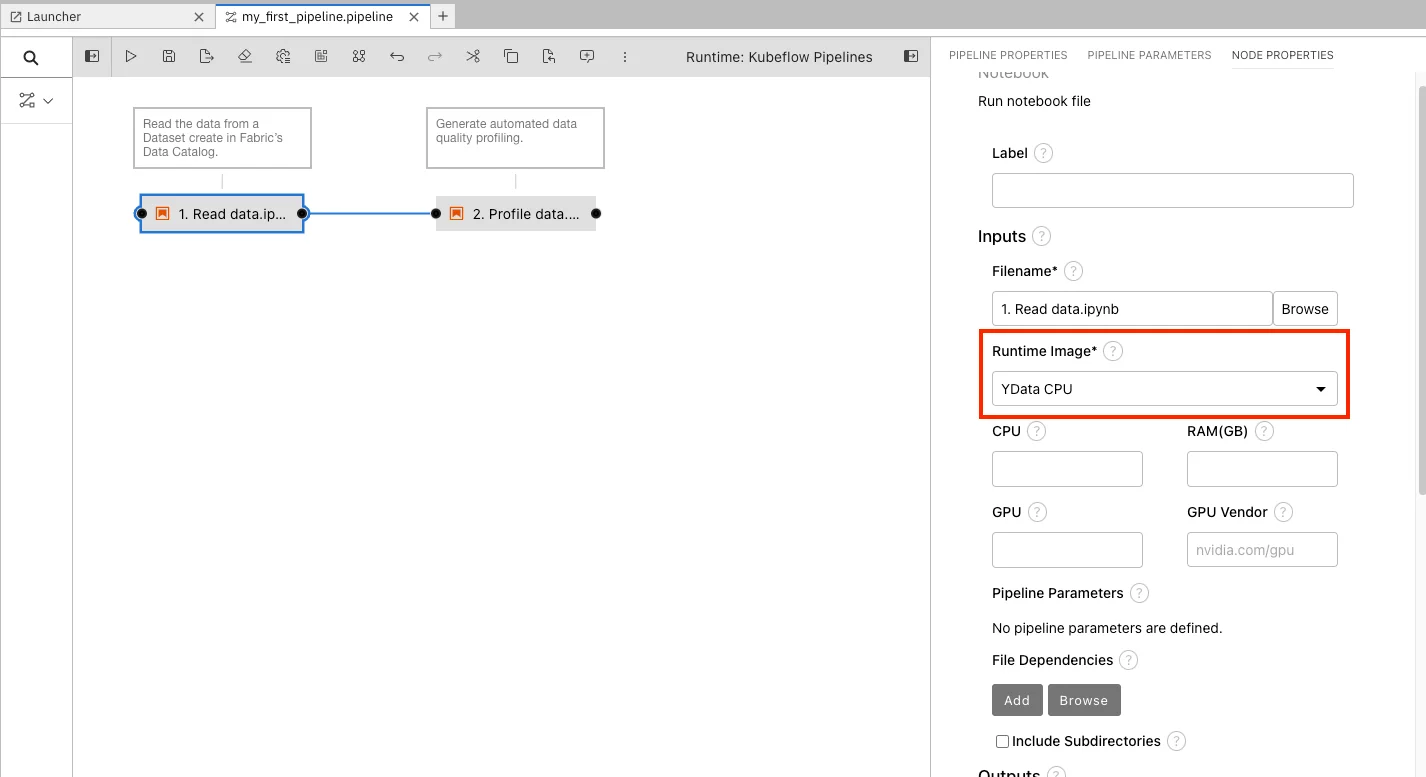
Before running the pipeline, we need to check each component/step properties and configurations. Right-click each one of the steps, select "Open Properties", and a menu will be depicted in your right side. Make sure that you have "YData - CPU" selected as the Runtime Image as show below.
| Open properties | Runtime image |
|---|---|
 |
 |
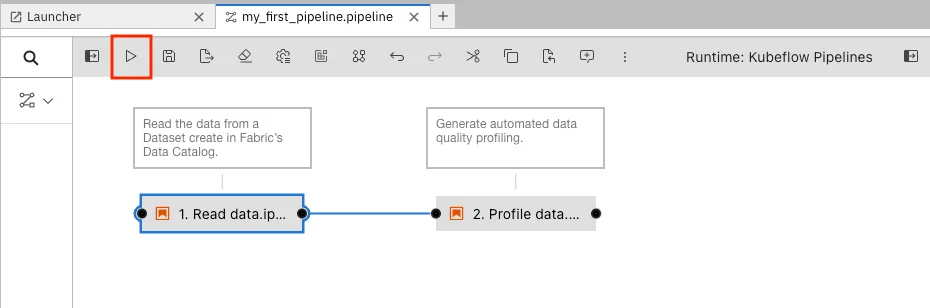
We are now ready to create and run our first pipeline. In the top left corner of the pipeline editor, the run button will be available for you to click.
Accept the default values shown in the run dialog and start the run

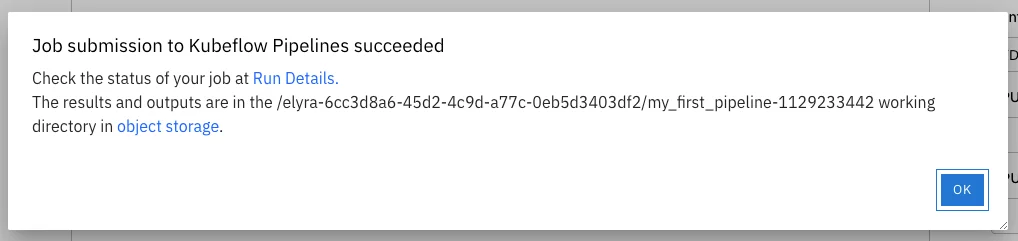
If the following message is shown, it means that you have create a run of your first pipeline.
Now that you have created your first pipeline, you can select the Pipeline from Fabric's left side menu.
Your most recent pipeline will be listed, as shown in below image.

To check the run of your pipeline, jump into the "Run" tab. You will be able to see your first pipeline running!
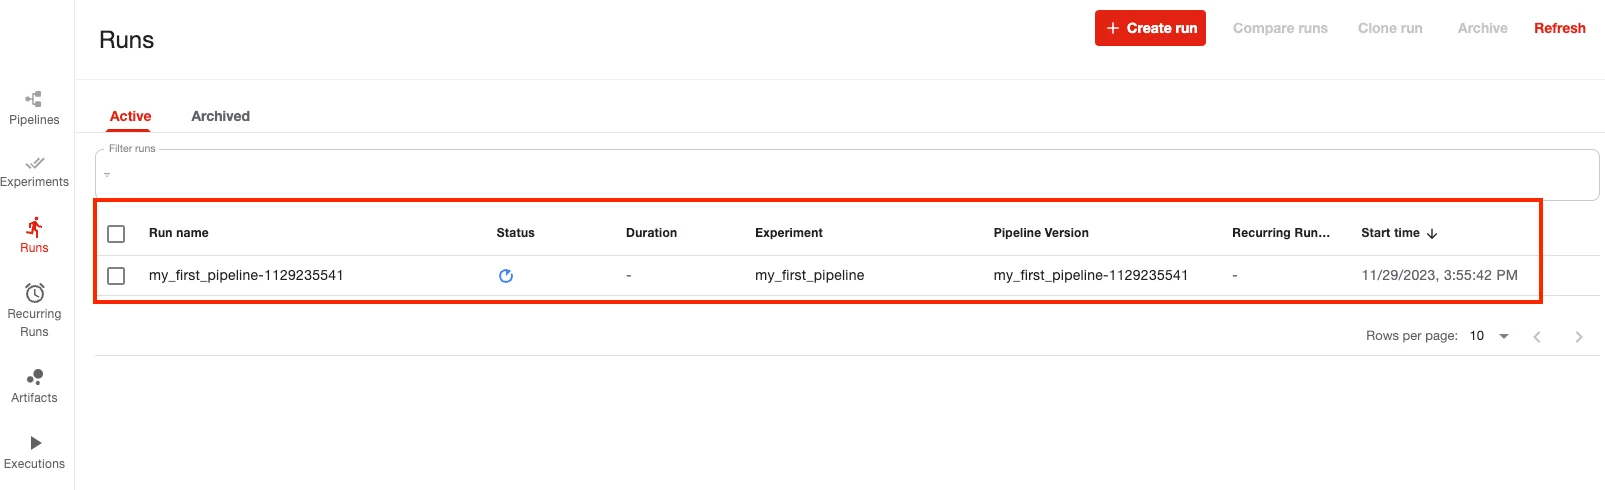
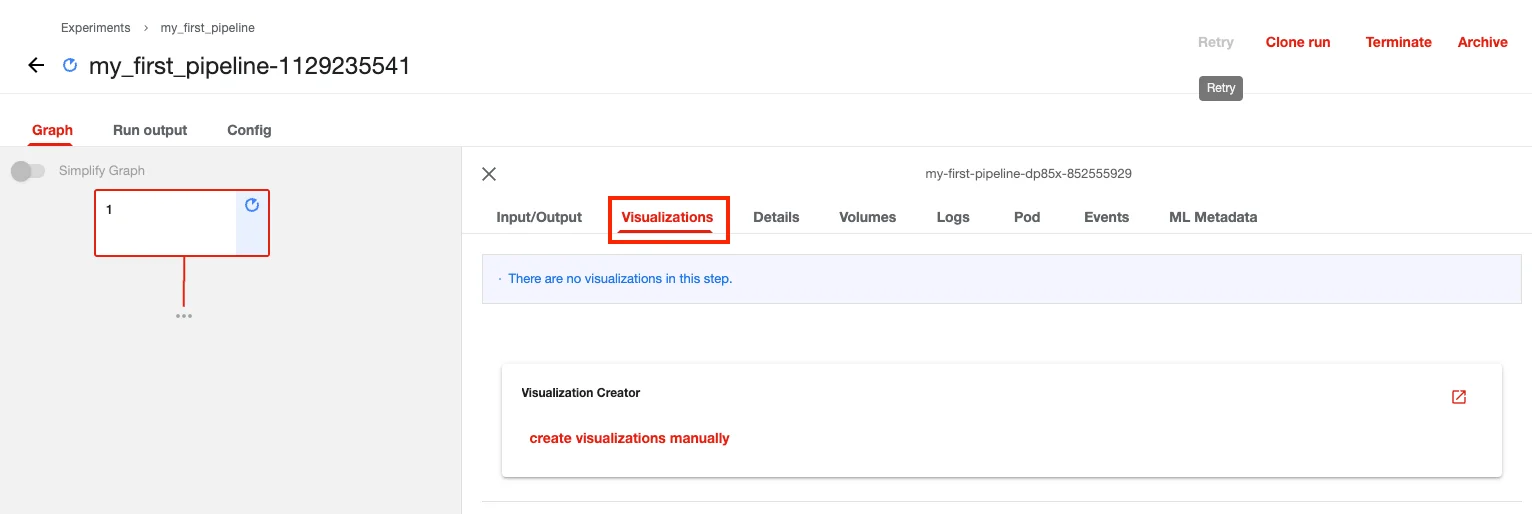
By clicking on top of the record you will be able to see the progress of the run step-by-step, and visualize the outputs of each and every step by clicking on each step and selecting the Visualizations tab.
Congrats! 🚀 You have now successfully created your first Pipeline a code environment, so you can benefit from Fabric's orchestration engine to crate scalable, versionable and comparable data workflows. Get ready for your journey of improved quality data for AI.